HOW TO USE GEMINI CLI WITH THE BW HOSTING CONTROL PANNEL
AI chatbots are becoming impressively advanced, especially when it comes to writing code.
In fact, we’re starting to see entire software projects built solely by AI – what some people are calling “vibe coded” apps, because they’re created entirely based on prompts and AI-generated logic.
Although BW Hosting Control Panel doesn’t currently offer built-in AI integration (at least not yet), you can still harness the power of AI to help with your development.
One option is to manually copy and paste code generated by tools like ChatGPT or Gemini, though we admit that can get a little repetitive.
A smoother approach would be to set up the Gemini CLI and connect to it over SSH, giving you direct access to AI-assisted coding right from your terminal.
Why use Gemini CLI instead of Gemini?
While the standard Gemini interface (like the one you might use in a browser) is great for quick questions or generating code snippets, the Gemini CLI (Command Line Interface) takes things to the next level, especially if you’re working on real coding projects.
Gemini CLI lets you interact with Gemini directly from your terminal or your favorite IDE using simple commands. This isn’t just a more convenient way to use AI – it’s a smarter one.
When set up properly in your development environment, Gemini CLI can access your actual project files. That means it can read, modify, and even create files automatically.
More importantly, it understands the structure and context of your entire codebase, not just the snippet you paste into a chat box.
This deeper level of integration allows Gemini to generate much more accurate and context-aware code, whether you’re debugging, refactoring, or building something from scratch.
It’s like having an intelligent coding assistant that sees the bigger picture, not just isolated pieces.
How to set up Gemini CLI?
To get started with Gemini CLI, you’ll need to have a few things set up in your account:
An available Supervisor instance
SSH access to your hosting environment
Don’t have Supervisor yet? No problem – it can be added to your account as an upgrade.
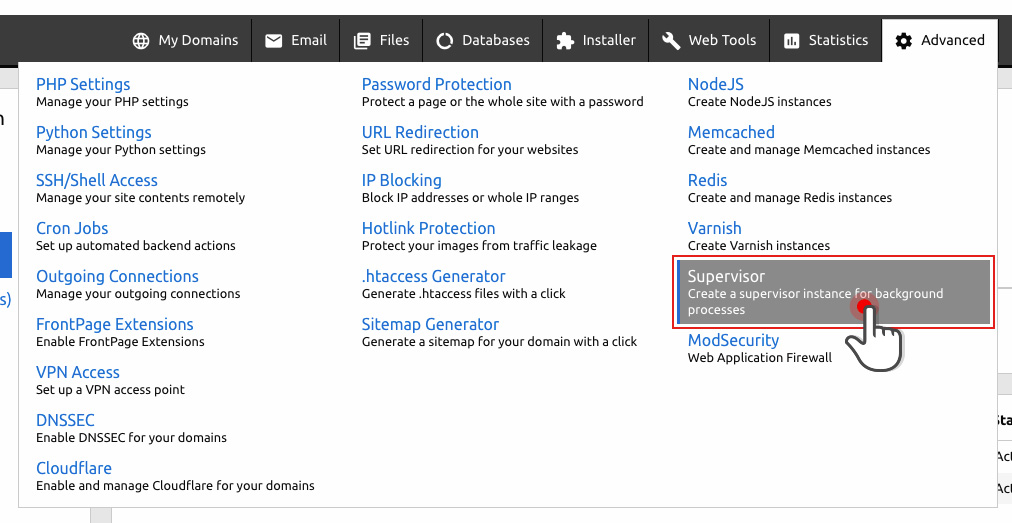
Step 1: Create a Supervisor Instance
In your BW Control Panel, go to: Advanced → Supervisor:
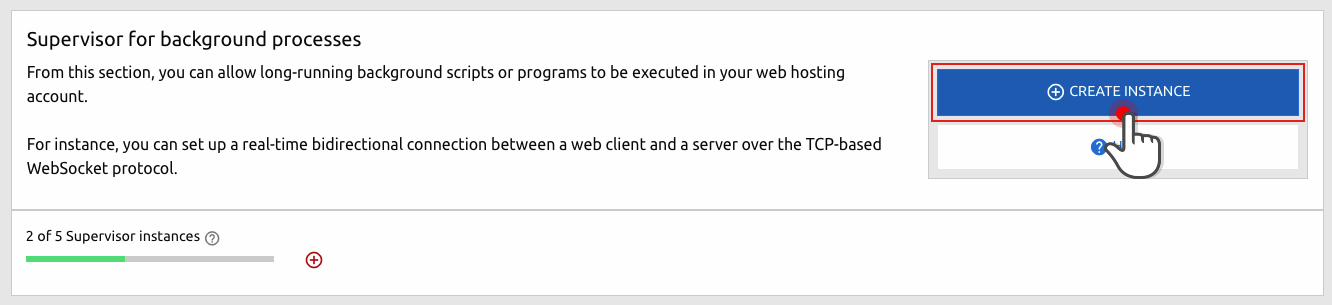
Click the “Create Instance” button:
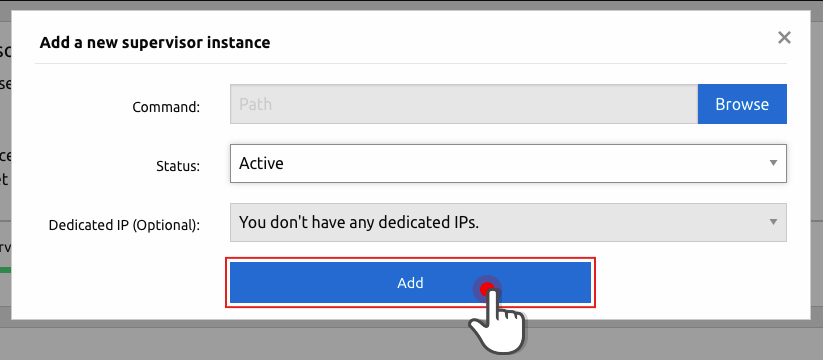
A setup dialog will appear where you’ll configure the new instance:
Here’s what to keep in mind:
In the Command field, specify the full path to the folder you want Gemini CLI to work with.
For example: my-best-domain.com/cars/fordImportant:If you don’t specify the correct port, Gemini will attempt to use a random one, which can break the authentication process.
You’re all set!
Once Gemini CLI starts, you can begin using it just like the regular Gemini chatbot – but now, it’s working with real files and real context from your project directory. You’ve essentially turned Gemini into a powerful AI coding assistant that understands your actual codebase.
What can you do with Gemini CLI in Hepsia?
Once Gemini CLI is up and running in your hosting environment, you’ve got a powerful tool at your fingertips – one that can supercharge your productivity and creativity.
Here are just a few things you can do with it:
Build a brand new website from scratch
Generate scripts to automate tasks or add functionality
Clone and interact with Git repositories right inside your workspace
Analyze your existing code for bugs, improvements, or optimizations
Review and process files or folders—even large ones
Rename files automatically, based on their actual content
And that’s just scratching the surface.
Sure! Here’s a more humanized and friendly version of that message:
NOTE: Gemini CLI is a third-party tool, which means it’s developed and maintained by an external provider. While we’re happy to help with general setup guidance, if you run into specific issues or have detailed questions about how it works, we recommend reaching out directly to the Gemini team for the most accurate support. They’ll be best equipped to assist you!
Tips for getting the best results
AI works best when it clearly understands what you want. The more specific you are in your instructions, the better the results.
For example:
❌ “I want to create a new website for my local grocery store.” versus ✅ “I want to create a new website for my local grocery store. It needs to include intro text, a couple of images, store hours, contact info, a Google map, and customer testimonials.”
See the difference? The more detailed you are, the more useful and tailored the output will be.

 An available Supervisor instance